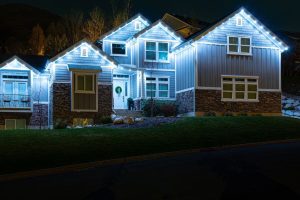
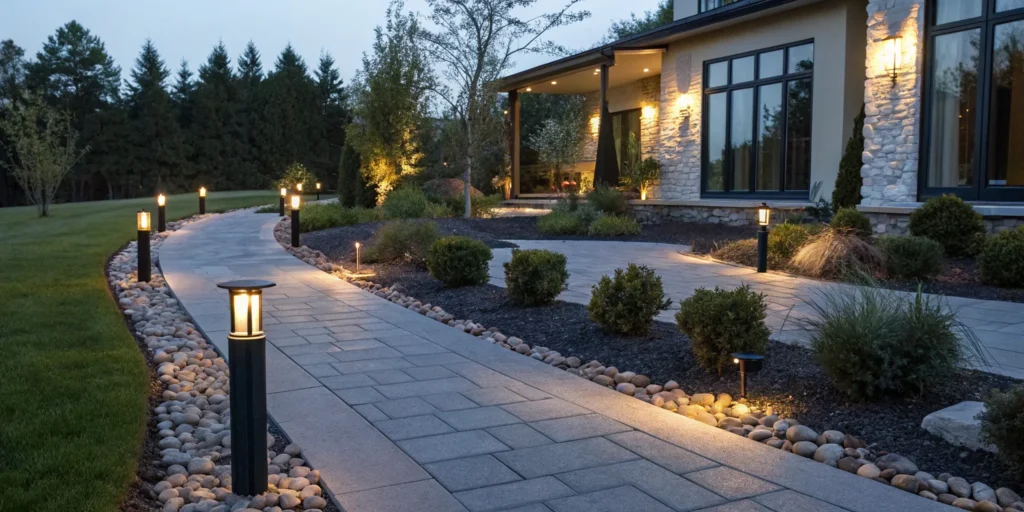

Ever wanted to light your yard professionally without spending a fortune? Well, it’s possible now—and that too without any major renovation.
Yes. You can simply install landscape lighting to transform the look of your home. It not only adds curb appeal but also improves the security, beauty, and functionality of your home. Your outdoor space will be 100% usable even after the sun goes down.
That’s the magic of landscape lighting. The good news is you don’t even need a professional electrician to get it started. So, let’s find out how to install landscape lighting step by step in an easy way so you don’t get exhausted.
Why Landscape Lights Even Matter
Before we discuss the installation process, it’s best to find out why landscape lights even matter and what their importance is in your home.
The big part is, it’s not only about their looks. Landscape lighting enhances curb appeal and property value as well as improves your home’s security by eliminating dark spots. You can make your outdoor space usable even after dark and highlight trees, pathways, and other architectural features.
How to Install Landscape Lights?
Now let’s jump to the other part, where we’ll discuss landscape lights installation.
Step 1 – Plan Your Lighting Design
Before you dig anything in your yard, it’s time to plan the design completely and then take the next steps.
So turn on your flashlight and walk around your property to look for:
- Dark walkways
- Trees you want to highlight
- Entry points like doors and gates
- Areas where shadows feel unsafe
After that, ask yourself a few questions like:
- Should I go with safety or beauty?
- Dramatic or ambient lighting?
- Which features should stand out at night?
After that, just sketch a simple layout and draw a basic map of:
- House
- Driveway
- Walkways
- Trees and garden beds
- Where do you think the lights should go
A little planning can save you from a lot of frustration.
Step 2—Choose the Right Type of Landscape Lighting
Outdoor lights are available in different styles and types. So, it’s best to choose the type that depends on your needs and goals.
Some popular options are:
Path lights
- Line walkways and driveways
- Low to the ground
- Great for safety and navigation
Spotlights
- Focused beams of light
- Highlight trees, walls, or landscaping features
- Good for dramatic effects
Flood lights
- Wide coverage
- Ideal for security and large areas
Accent lights
- Subtle lighting for plants, rocks, or décor
- Used for design enhancement
String or decorative lights
- More for ambiance
- Often used in patios or entertainment areas
If you are looking for a durable and high-quality setup, it’s recommended to choose low-voltage lights.
Step 3—Gather Tools and Materials
Before you dig or install anything, make sure you have all these tools:
- Shovel or trenching tool
- Screwdriver
- Wire stripper
- Tape measure
- Hammer or mallet
- Outdoor-rated extension cord
Some important lighting kit components are:
- Lights (path, spot, or flood)
- Low-voltage transformer
- Electrical wire (outdoor-rated)
- Connectors
- Timer or smart controller
When you already have everything, you can make the process faster and smoother.
Step 4—Set up the Transformer
A transformer works like a brain for a low-voltage lighting system.
You can handle it by following these steps:
- Mount it near an outdoor GFCI outlet
- Keep it protected from direct rain
- Plug it into the outlet, but don’t power it on yet
- Make sure it has enough wattage capacity
Pro tip: Choose a transformer with 30% more capacity so it can handle all your lighting load.
Step 5 – Lay Out the Lights Before Installation
Do not rush into permanent placement. But instead:
- Place each light where you think it should go
- Test spacing and angles
- Step back and view it from different angles
- Adjust until it looks balanced
Step 6—Run the Electrical Wire
This is somewhat of a technical part. That’s why you may need help. So, if you are not comfortable with electrical work, you can trust Trimlight DFW professionals who can handle all the complications on your behalf.
However, some basic steps are:
- Run the wire along your planned lighting path
- Keep it slightly loose (don’t stretch it tight)
- Avoid sharp bends
- Try to keep the wire hidden under mulch or soil
Install the Light Fixtures Now
Here comes the fun part. It’s time to install light fixtures.
For path lights:
- Push stakes into soft ground
- Make sure they are level
- Space them evenly
For spotlights:
- Aim at focal points
- Adjust the angle before tightening
- Test the beam direction at night, if possible
For accent lights:
- Hide fixtures slightly for a natural look
- Focus on subtle highlights, not brightness
Take your time and think carefully because small adjustments can make a huge difference.
Step 8 – Connect the Wiring
In the end, it’s time to connect the wiring. That’s how you do it:
- Attach each light’s wire to the main line
- Use waterproof connectors
- Make sure polarity is correct if required
- Double-check all connections before powering on
Maintenance Tips to Keep the Lighting in Top Shape
The landscaping light installation process is not as difficult as it sounds. But for some homeowners, maintenance is a more challenging thing to do.
Follow these tips always:
Every few months:
- Clean light lenses
- Check for shifted fixtures
- Inspect wires for damage
- Replace burnt-out bulbs
After heavy weather:
- Make sure the lights are still aligned
- Check for water damage in connectors
- Re-secure any loose stakes
Avoid These Mistakes When Install Landscape Lights
Here’s what you need to watch for:
- Over-lighting your yard
- Ignoring wire safety and waterproofing
- Poor spacing between lights
- Using underpowered transformers
- Skipping nighttime testing
Remember, avoiding these mistakes will improve results.
Final Thoughts—Ready to Install Landscaping Lighting?
Installing landscape lighting is one of those projects that seems complicated at first—but once you break it down step by step, it becomes very manageable.
With a little planning, the right tools, and a bit of patience, you can completely transform your outdoor space into something that looks professional and inviting.
And if you don’t want to get your hands dirty, want some more advanced, polished, and permanent LED lighting solution, working with experts like Trimlight DFW can save you time and ensure a flawless finish. So, are you ready to install landscaping lights?